3D Printed Wedding Rings
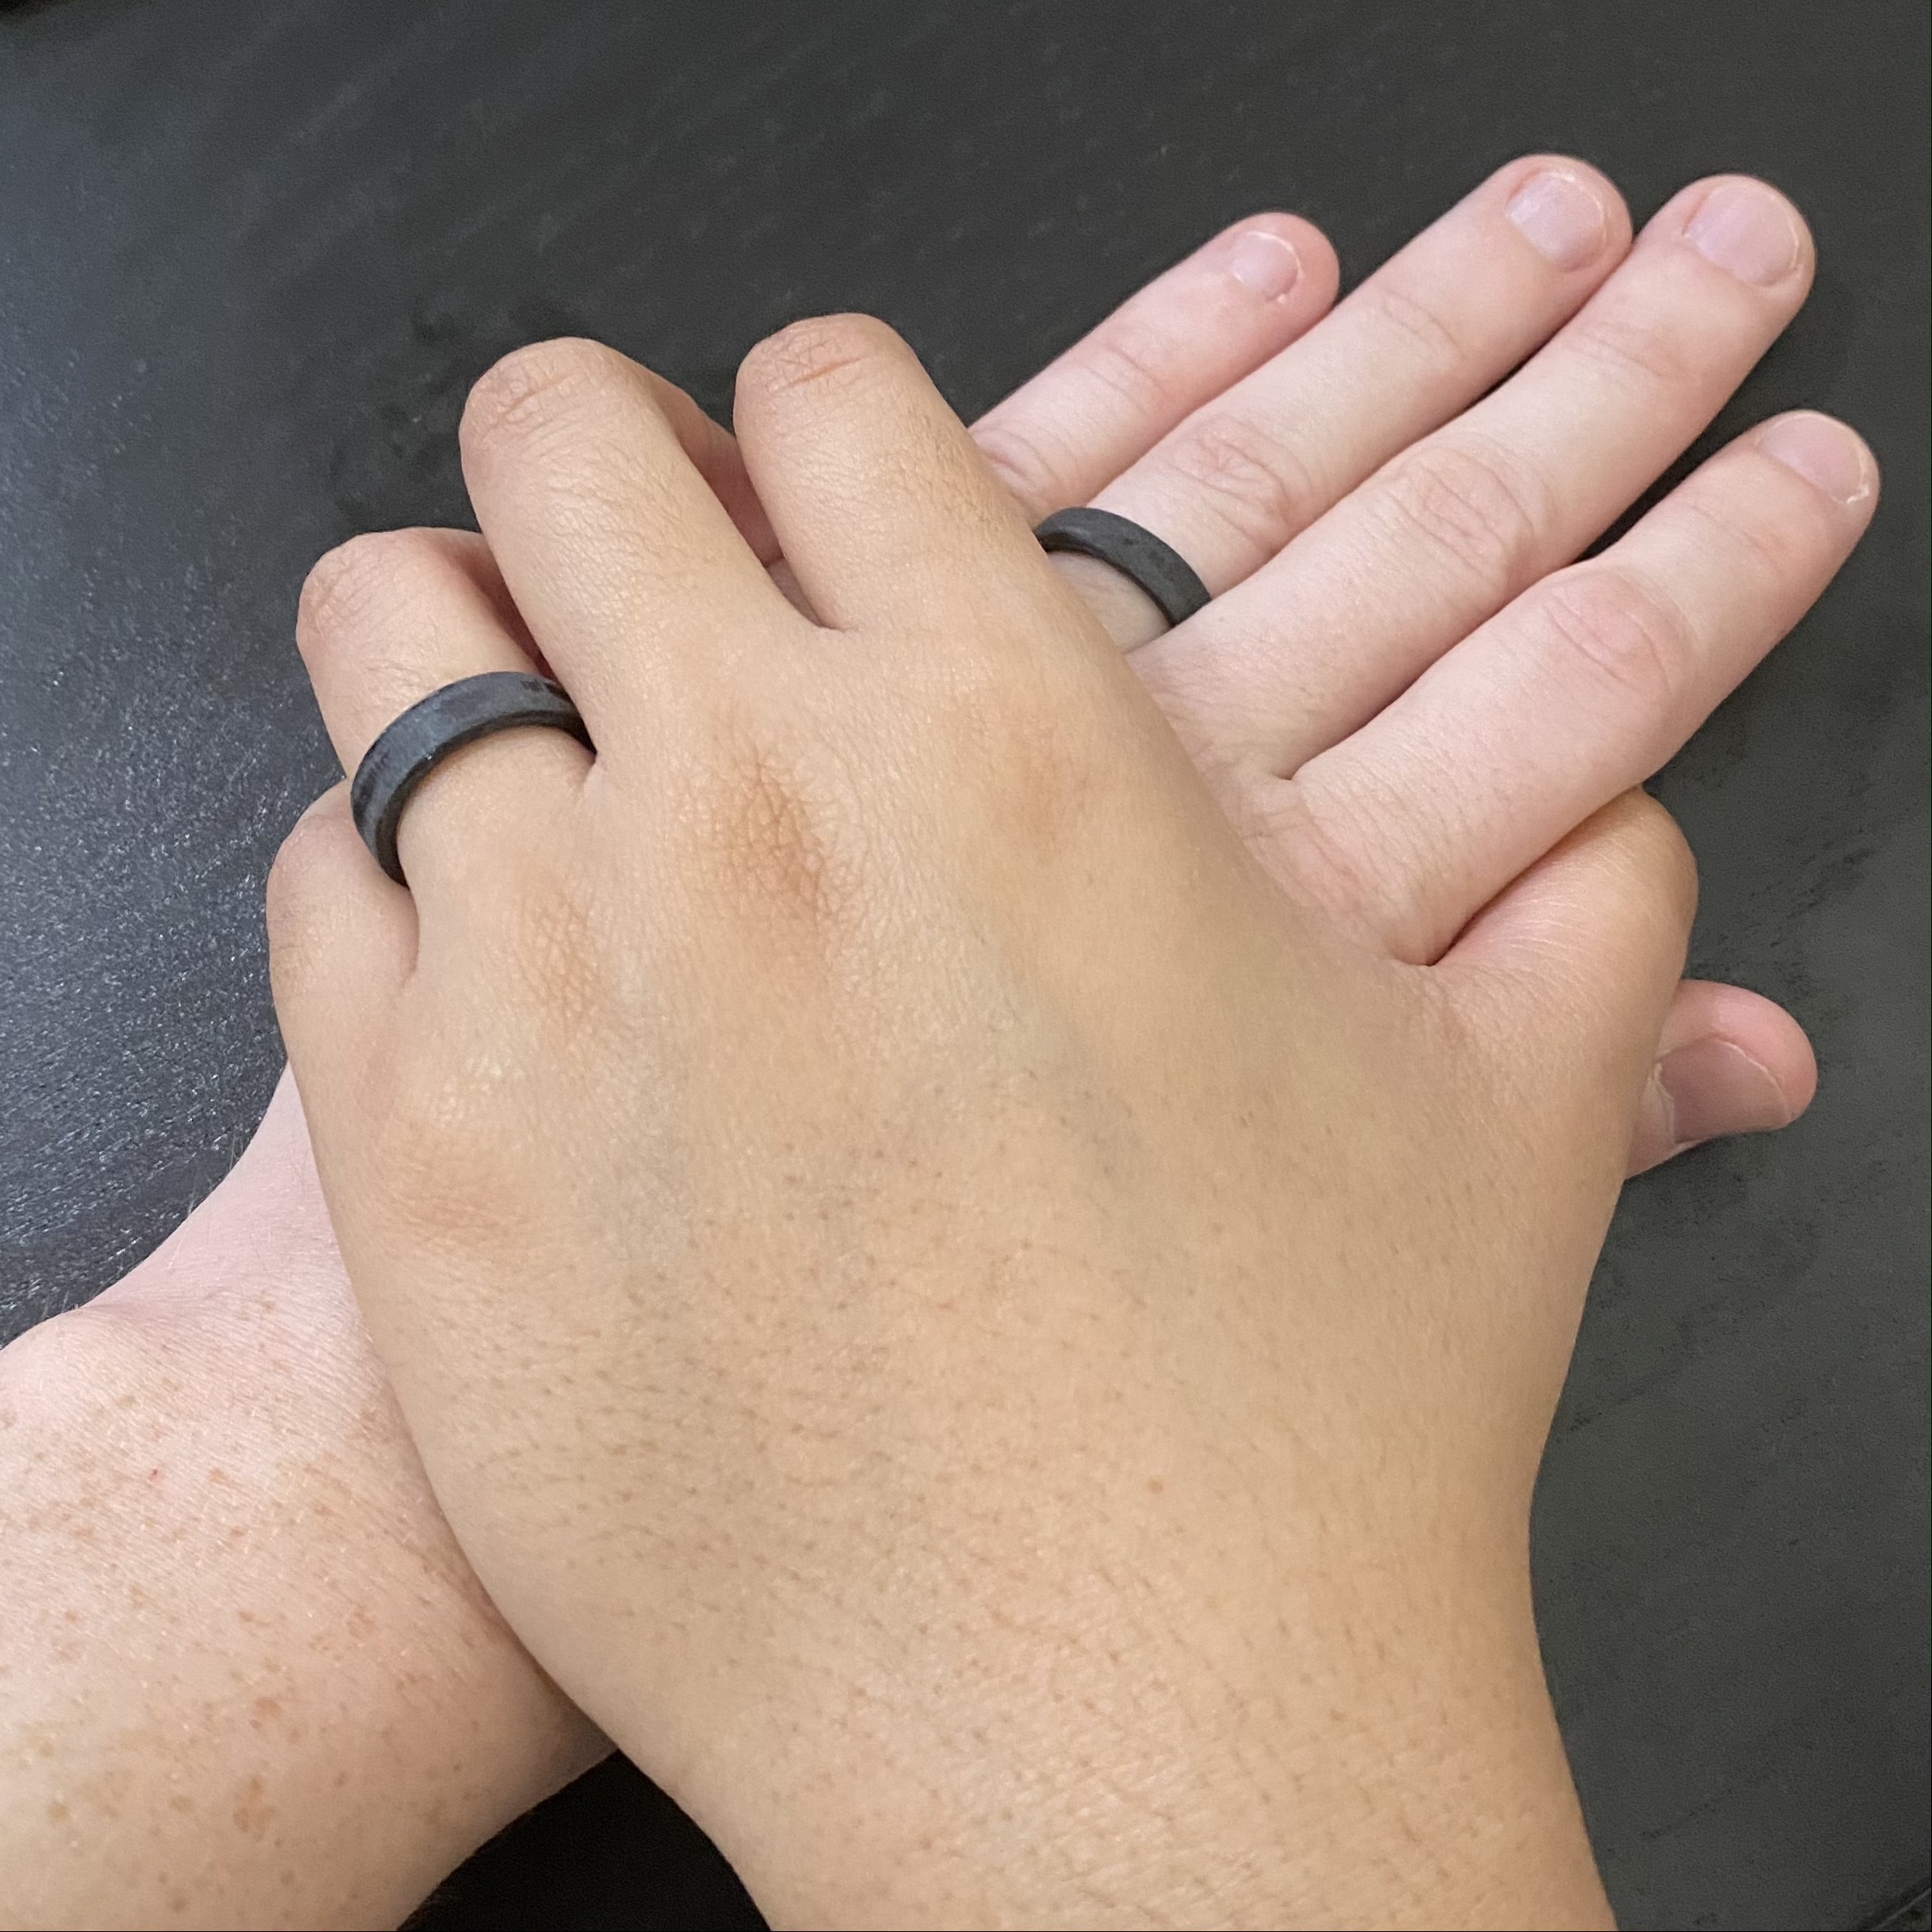
A year ago this month, I married my best friend. However, for most of the past almost-year, we didn’t have any rings to symbolize our love. We briefly had some carbon-fiber rings, but mine broke and hers didn’t fit. Thus, we returned them for a refund, and didn’t do anything about it for the intervening time. However, this did become a recurring item in our weekly relationship retros, as we wanted to do something about it, but we weren’t sure what.
This past weekend, we were discussing our ring situation, and one of us threw out the idea, “why don’t we 3d print our rings?”. For the past 3 and a half years, we’ve owned a prusa i3 mk3 FDM printer, it gets fairly regular use. Rings are super easy to design, why not try it and see how we like it.
Spoiler: we love them.
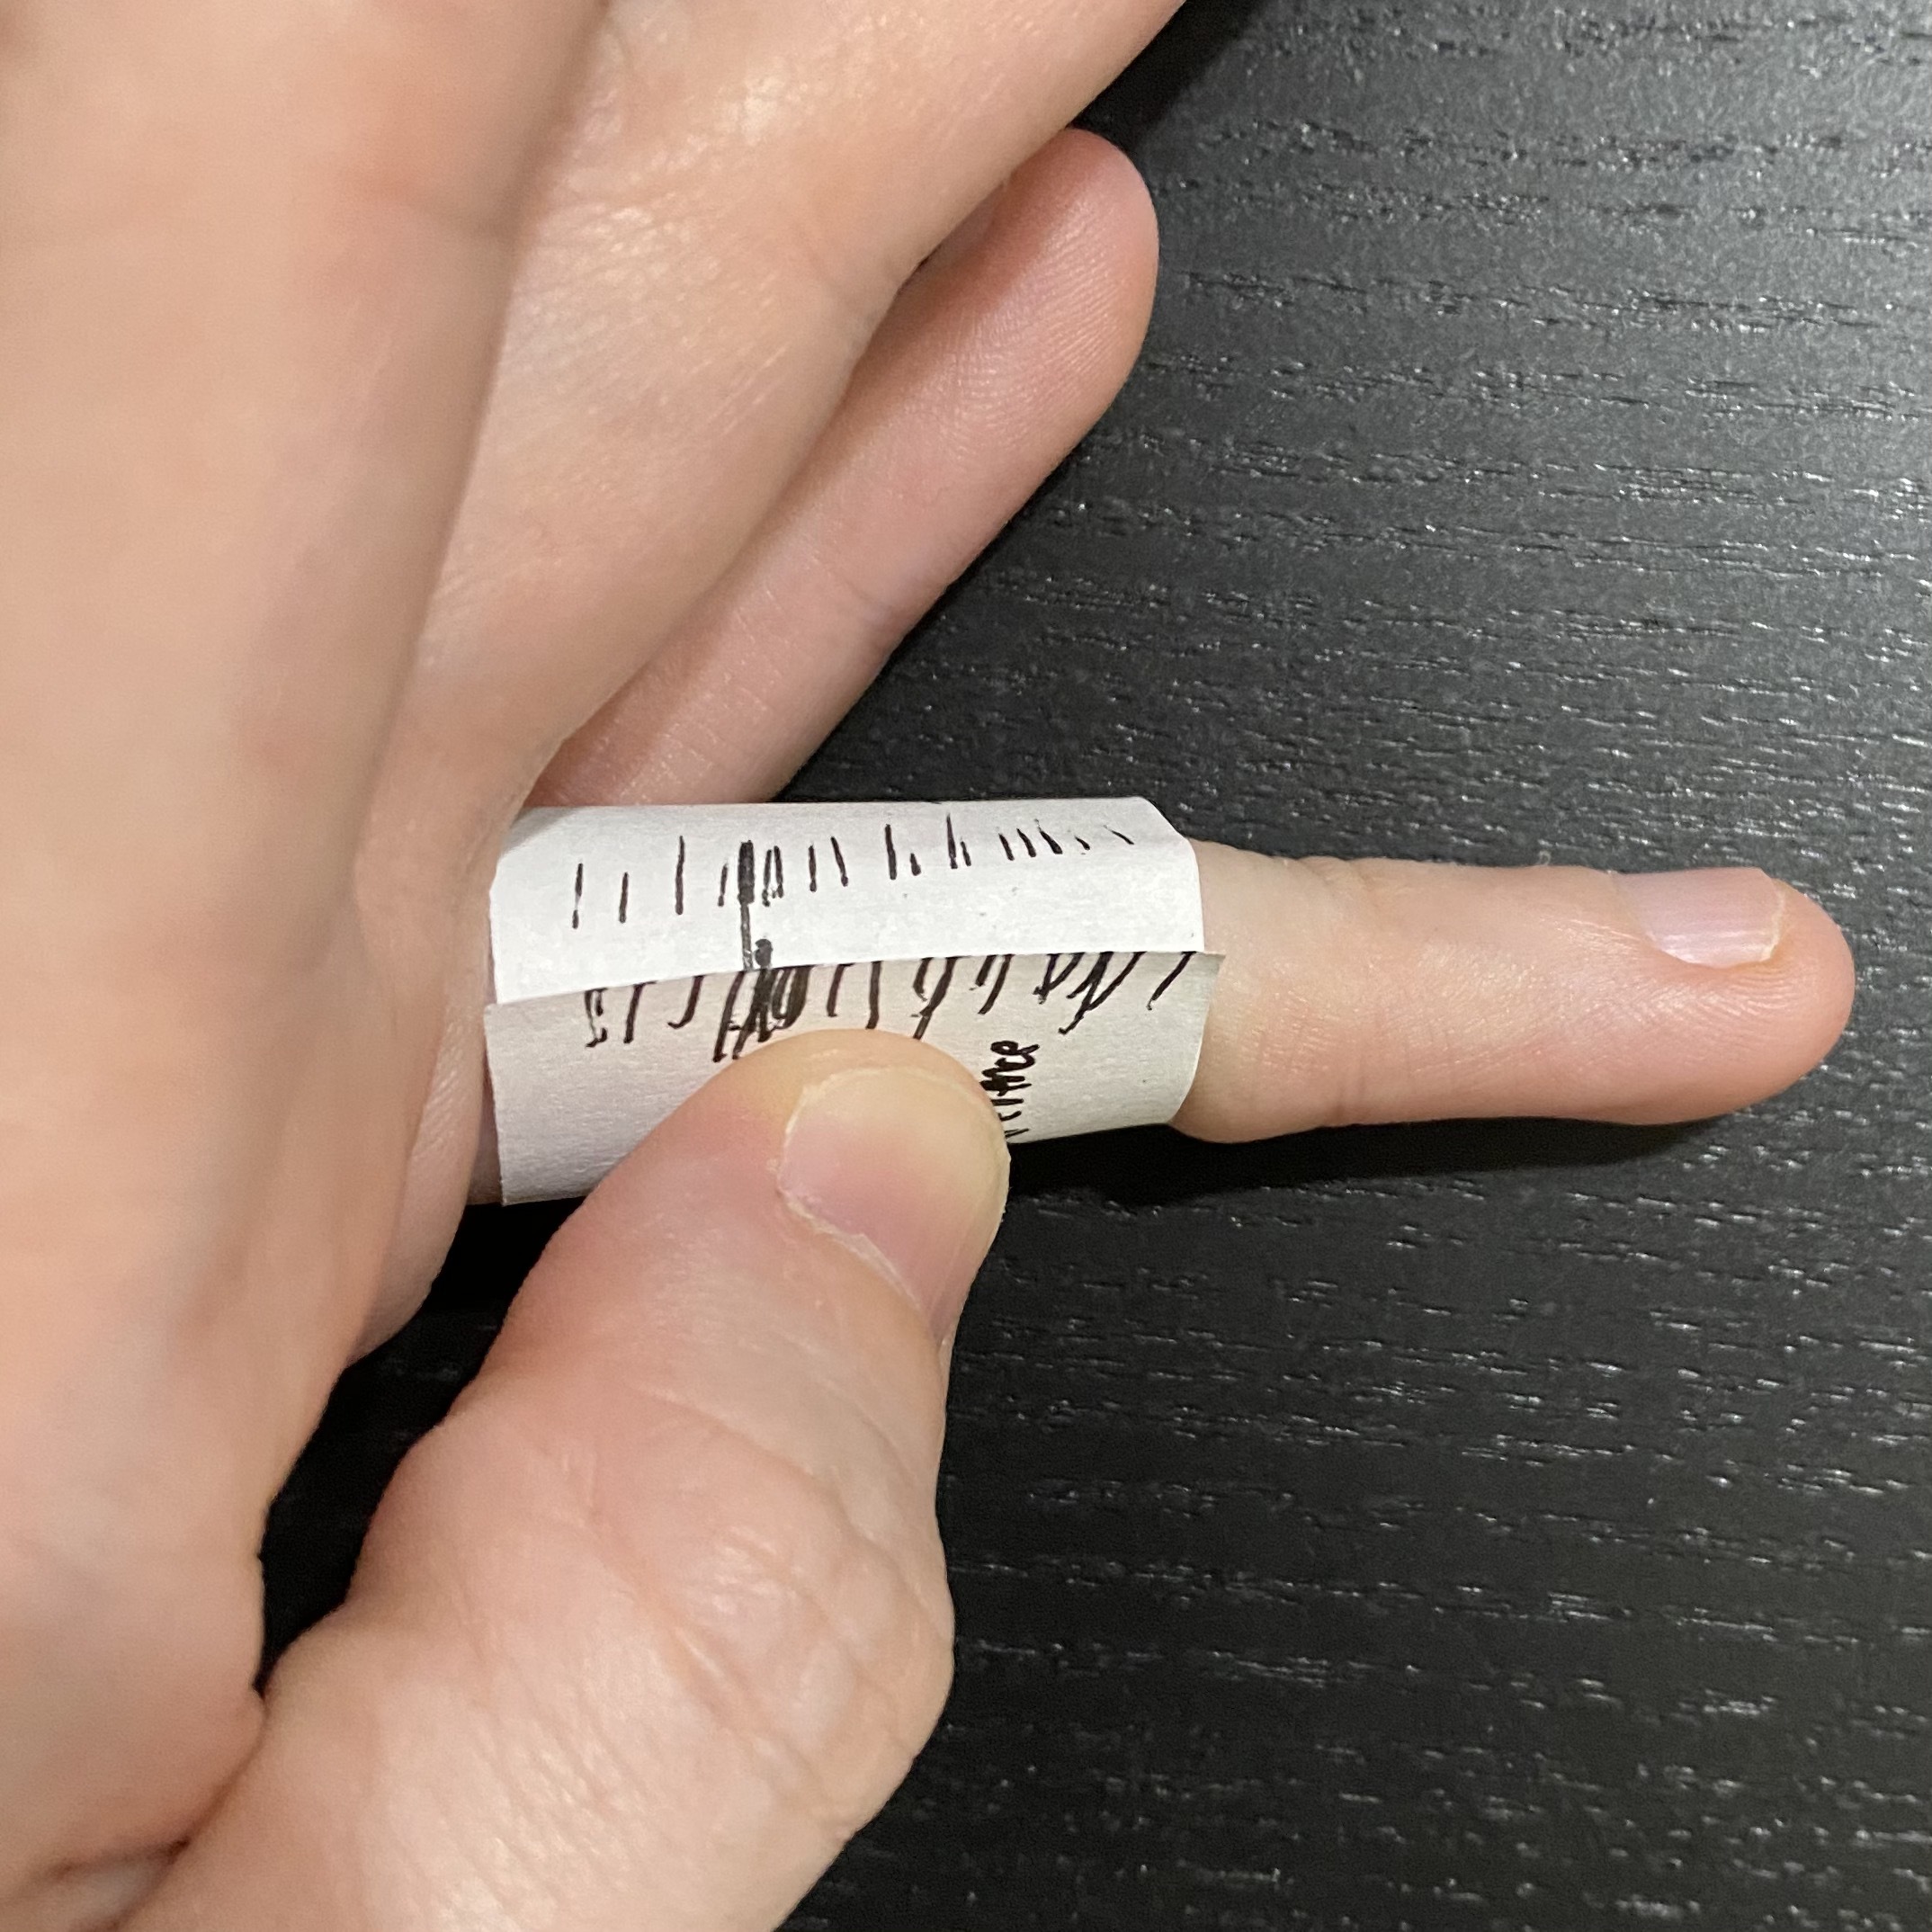
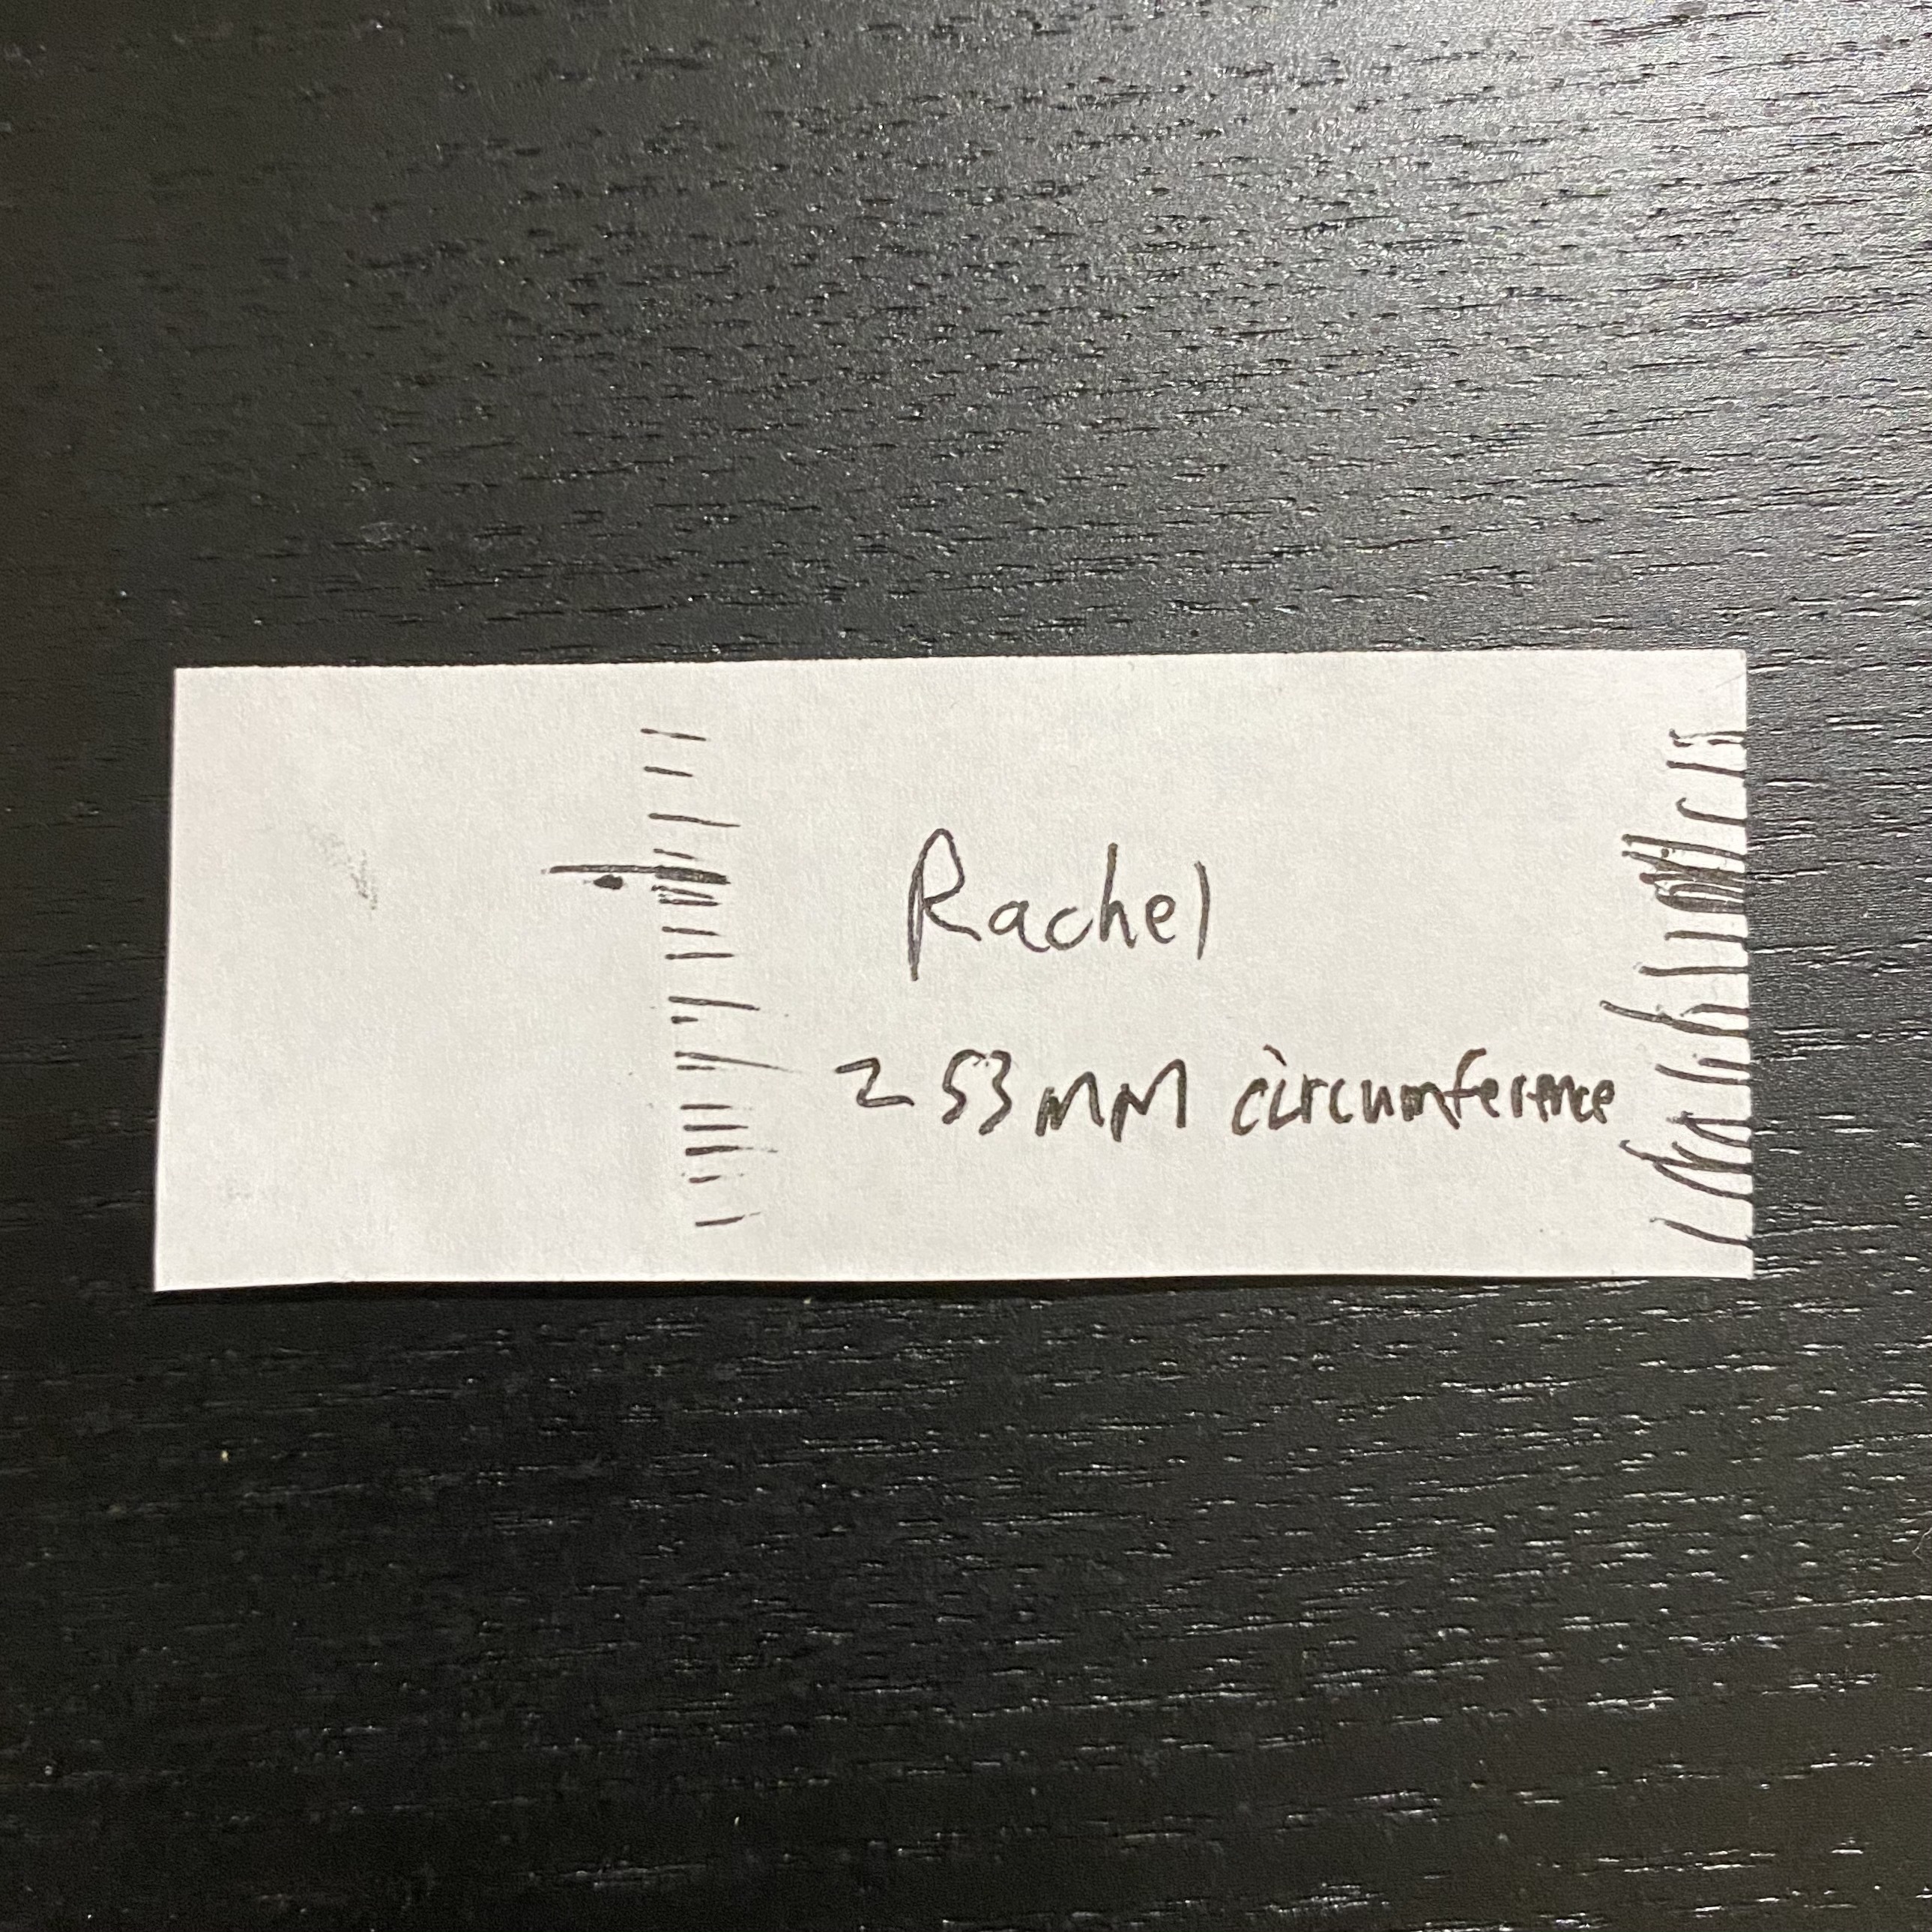
Step one is to measure the diameter of our ring fingers. Fingers are not perfect circles, so we can’t just use calipers to measure the diameter. Instead, we’ll assume our finger is a circle, and measure the circumference, then derive the diameter from that. You can do this using a tape measure, or, what we did, where we wrapped a length of paper around the thickest parts of our ring fingers, and made marks with a pen where the paper started to overlap. Once marked, you can unroll the paper and the length between the same marks is the same circumference as your finger. For me, these marks are of different width, because it’s hard wrap the paper perfectly, so I went with the median distance. For example, I estimated the circumference of my ring finger as 53 millimeters.
Once you have the circumference of the fingers, you can divide those by pi to get the diameters. This step is important. I initially forgot this, and went ahead and loaded GCODE for a 53 millimeter diameter ring to my printer. Thankfully, I remembered my mistake before the print actually started. It explained why the preview for my slicer showed the ring taking up an unreasonable large amount of space. This step is also a good place to apply a fudge factor and round up to the nearest millimeter or so, to account for not only the fact that your finger is not a perfect circle, but also that the diameter of your finger can change over the course of a day. For my finger, 53 millimeter would result in a ring with diameter approximately 16.87 millimeter, so I added the extra 0.13 millimeter when modelling the ring for a 17 millimeter inner diameter.
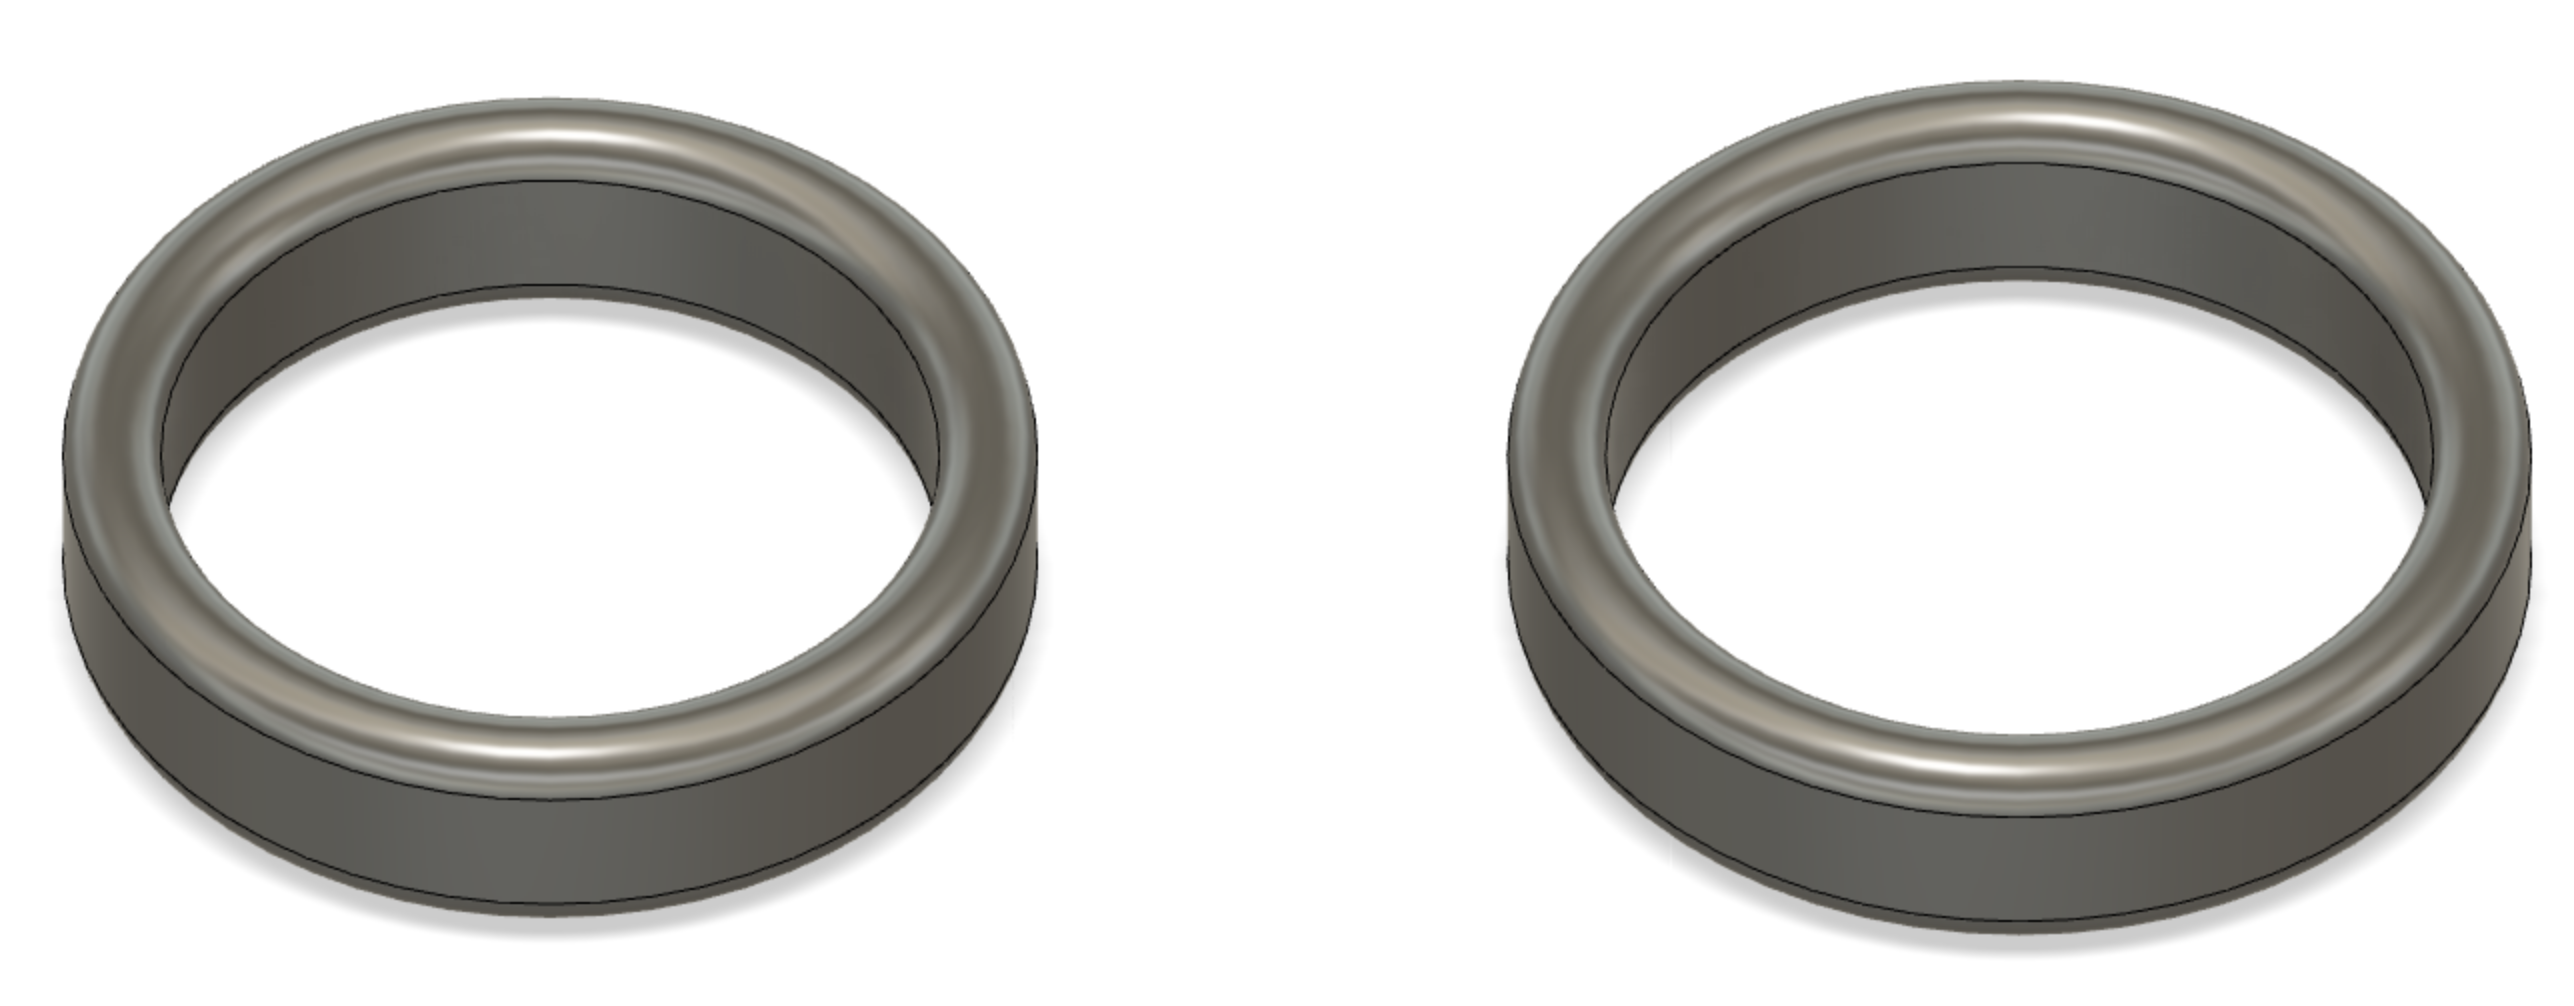
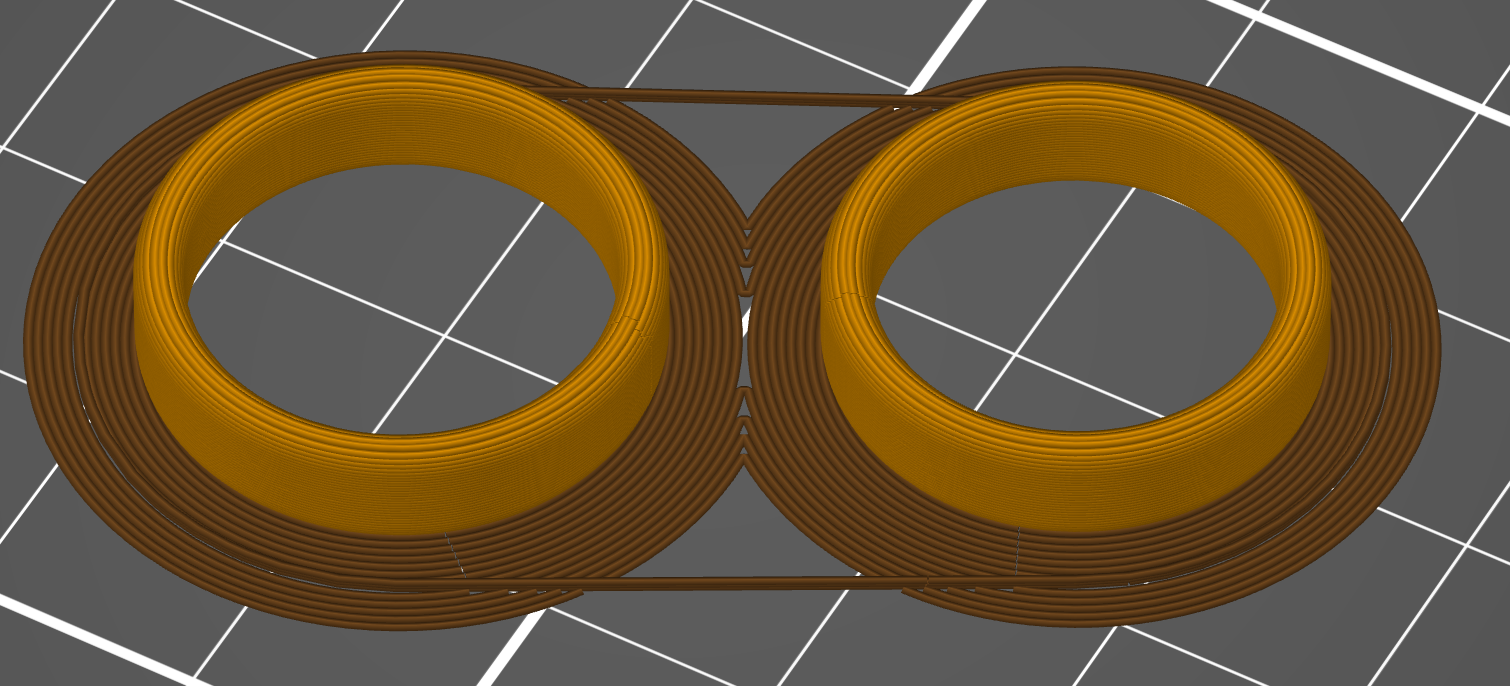
Now that you have the circumference of the fingers, you can go to your favorite 3d modelling program and create a ring with the inner diameter of your calculated diameter, and an outer diameter of that plus at least a millimeter or 2 - for structural stability reasons. I went with 2 millimeters. Once you have the 2d structure of the ring created, you can make it 3 dimensional by giving it an appropriate length - I used 4 millimeters, which looked nice to me. I used Fusion 360 to model these, though that’s because I’ve previously used it for other projects and knew how to use it. This is simple enough that you can do this in a very short amount of time with any CAD. As an additional nicety, you can round the corners - apply a fillet equal to half the wall distance to all 4 edges. Export each ring to STL, then bring them to your slicer program.
In your slicer program, select the filament type you’ll use - I used PETG because I wanted the extra structural rigidity, plus, more importantly, it’s what was previously loaded into my printer, and then add at least a brim. The brim is necessary because of the fillet you added on the bottom of the rings, to keep the plastic from sagging (OTOH, for these scales, it’s likely not necessary). Export the GCODE from that, and load it into your printer. It took our printer 15 minutes to print this, plus another 10 minutes or so waiting for it to cool afterward.
Once the printer is done and cooled, it’s super important to go and sand this down. For a lot of my prototyping, I’m ok with not doing any sanding of the product afterward. But for something you’re going to wear, it’s important to go sand it down. Get some sandpaper and sand all the surfaces of the rings. Not only will this remove any extra strings or jagged edges that could hurt or irritate you, but it’ll also apply even more personalization to the rings- now each will have their own one-of-a-kind sandings!
There’s even more personalizations you can do! If we had a multi-material printer, it would have been very neat to put some text inscribed on the ring, and then set up the slicing to have the outter diameter be one color, but use a different color at the level where the text would be inscribed.
As simple as these are, we’re very happy with these. We’ve only had them for a little over a day, but they’ve been great. Total time spent was maybe an hour on this, and given that we already had everything else, the only cost involved was the filament used - about a nickel for both rings. For that, we have personal (very basic) rings.
How romantic, instead of buying rings someone else made, we were able to manufacture our rings.